Basic Cooking Skills Every Home Cook Should Know
Many people assume that becoming a good cook begins with collecting recipes. Shelves are filled with cookbooks and the internet offers an endless stream of dishes to try. But after spending enough time in the kitchen, most cooks eventually discover something important: good cooking is built far more on skills than on recipes.
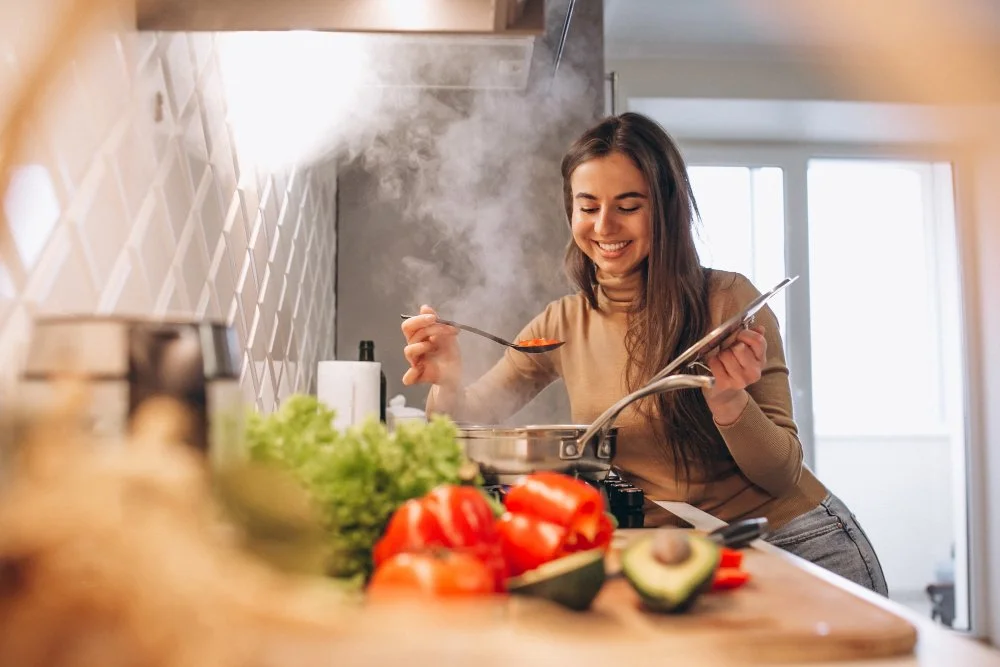
Recipes can guide us, but skills give us culinary freedom. When you understand a few foundational techniques, you begin to cook with confidence rather than hesitation. You recognize when a pan is properly heated, when vegetables are developing flavor, and when a dish simply needs a little salt or a squeeze of lemon to come into balance.
In culinary school, we didn’t begin by memorizing recipes. Instead, we practiced fundamental techniques repeatedly—knife work, sautéing, roasting, seasoning—until they became second nature. Once those skills were in place, cooking became far more intuitive.
For the home cook, the same principle applies. A handful of basic techniques form the foundation for thousands of meals.
Here are some of the basic cooking skills worth learning.
Knife Skills
A sharp knife and a little practice can transform the entire cooking experience.
Good knife skills make preparation faster, safer, and more enjoyable. Most people don’t realize they also influence how food cooks. This is because when ingredients are cut into similar sizes, they cook evenly and develop better texture and flavor.
The chef’s knife is one of the most frequently used tools in the kitchen and one of the most important aspects of using it is learning how to hold it properly. I frequently notice cooks gripping only the knife handle and laying their index finger along the back of the blade. This leads to your hand getting tired which can result in injury. The most common grip professional cooks use is called the “handshake or pinch grip”. Start by grasping the knife so the handle lays diagonally along the center of the palm, then pinch the blade gently just above the handle with your thumb and forefinger as the remaining fingers wrap around the handle itself. This grip allows the knife to be an extension of your arm giving you greater control and stability.
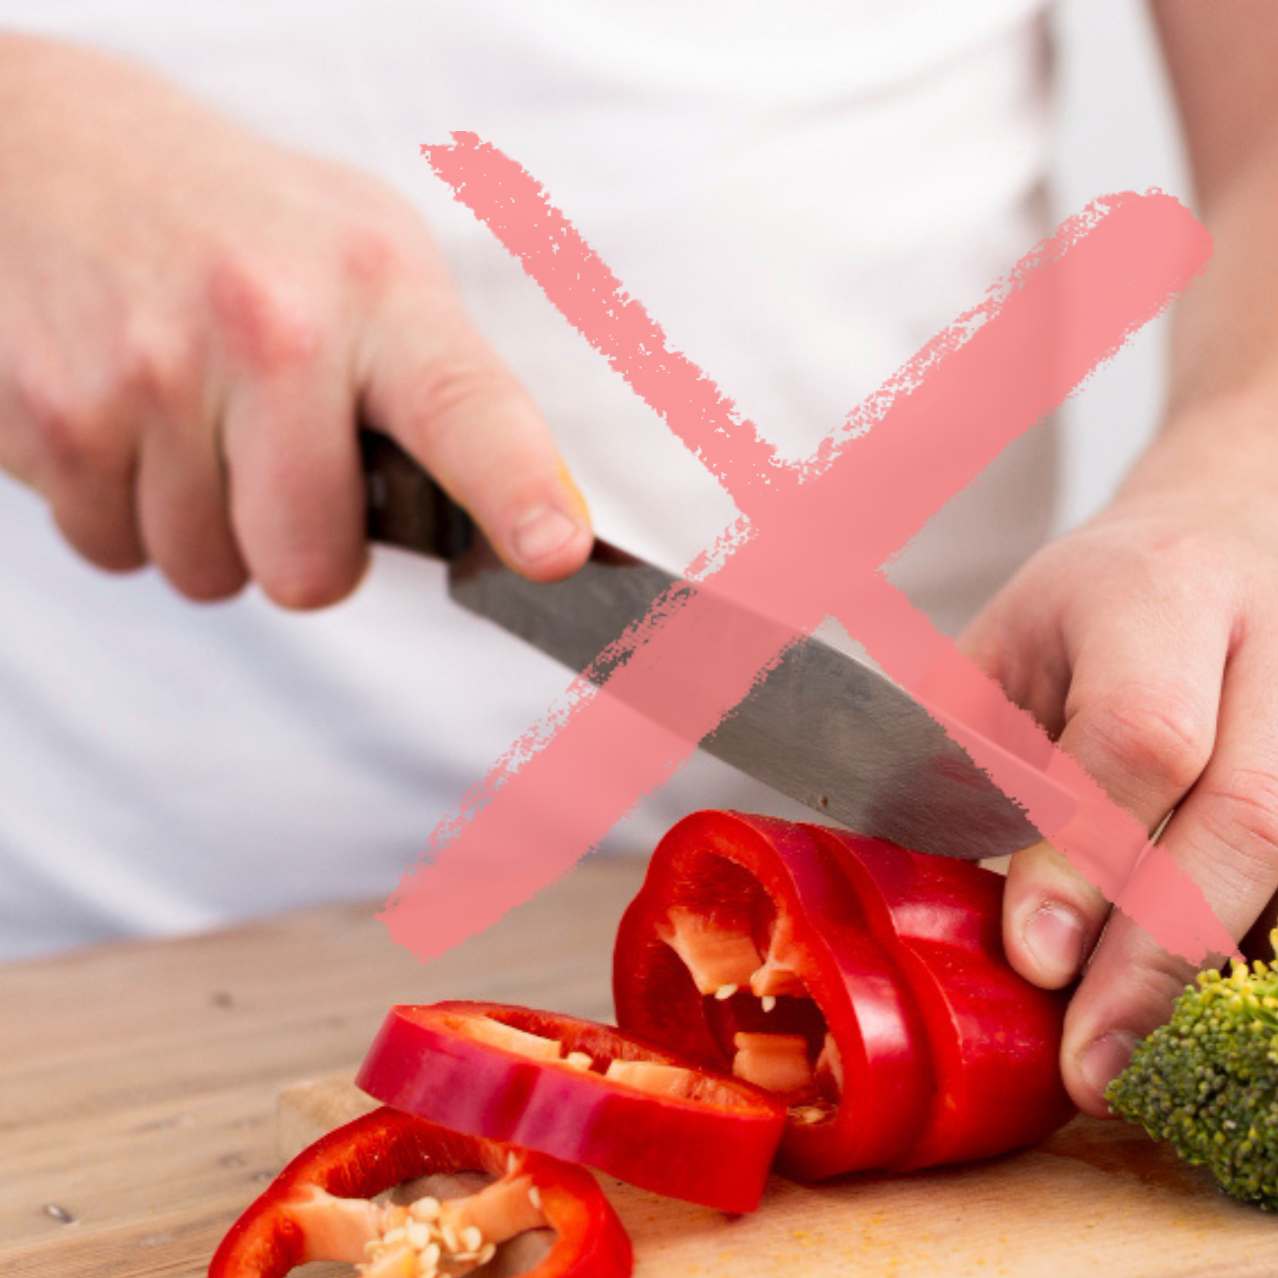


The guiding hand—the one holding the ingredient—forms what cooks often call the “claw.” The fingertips curl slightly inward so the knife can move safely along the longest knuckle while cutting. This may feel awkward at first, but with practice it becomes natural.
When standing in front of the cutting board you want your shoulders squared to the board and your knees slightly bent (not hunched over!). Finally, the safest knife is a sharp knife. You’ll want to use a steel while cutting to keep the knife blade finely honed.
Most home cooking relies on just a few simple cuts:
Slicing refers to cutting it into thin, broad, or uniform pieces, usually across the grain to create strips or rounds. It is further defined as crosscut, bias cut, or julienne.This is commonly used for onions, tomatoes, cucumbers, or cooked meats. The knife moves in a smooth forward motion, creating uniform slices.
Chopping is useful for larger vegetables. It is an irregular, rough cut that produces uniform, bite-sized pieces, typically around ¼ to ½ inch in size. Rough chopping refers to larger ½ to 1 inch chunks. This cut is often used for vegetables that will cook for a longer time in soups, stews, or sautés.
Dicing is a more precise cut that creates uniform pieces that ensures an even cooking rate. Typically ranging in size from ⅛ to ½ in in size, it provides a more even texture and a better presentation. Dicing can be broken down even further into small dice (¼ in cubes), medium dice (½ inch cubes), and large dice (¾ inch cubes).
Mincing produces very small pieces of ingredients like garlic, ginger, shallots, or herbs so their flavor distributes throughout the dish.
Once you become comfortable with a chef’s knife and these basic cuts, preparing vegetables becomes less of a task and more of a rhythm. The simple act of chopping onions, carrots, or herbs often becomes the quiet beginning of a meal.
Sautéing
Sautéing is one of the most versatile techniques in everyday cooking. From quickly cooking vegetables to preparing chicken, fish, shrimp, or mushrooms, countless meals begin in a hot pan.
The word sauté comes from the French verb meaning “to jump,” referring to the way ingredients move in a hot pan. The goal of sautéing is to cook food quickly in a relatively hot pan with a small amount of fat—usually oil, butter, or a combination of both—while encouraging the surface of the food to brown.
Browning is important because it creates flavor. When ingredients develop golden surfaces in the pan, natural sugars and proteins undergo a process called caramelization and the Maillard reaction. These reactions produce the savory aromas and complex flavors that make food taste satisfying.
A successful sauté begins with a properly heated pan.
Placing ingredients into a cold pan prevents browning and can cause food to stick. Instead, allow the pan to warm for a minute or two, then add a small amount of oil. This allows the open pores in the pan’s surface to close, minimizing sticking. When the oil begins to shimmer and move easily across the pan, it’s ready. One tried and true method to test readiness is sprinkling a few drops of water into the pan - if they sizzle the pan is ready.
At that point, the ingredients can be added in a single, uncrowded layer. They should produce a gentle sizzling sound when they hit the pan. That sound tells you the heat is doing its job.
Allow the ingredients to cook undisturbed for a short time so they can develop color. Then stir or toss them occasionally to cook evenly. Depending on the ingredient, sautéing usually takes only a few minutes.
While sautéing vegetables they may soften slightly while maintaining their texture. Mushrooms will release moisture and then begin to brown. Thin pieces of chicken or fish cook quickly while developing flavorful surfaces.
The satisfying sauté flip is easily accomplished. The key is confidence and commitment. Tilt the pan slightly so the food is nestled in the crook, give the pan a quick shove forward and up before slightly dropping it and catching the now flipped over food. Practice makes perfect. I learned by using a piece of bread in a cold pan and practicing the movement over and over.
Because sautéing happens quickly, it encourages cooks to stay present at the stove—watching, listening, and adjusting the heat as needed.
Roasting
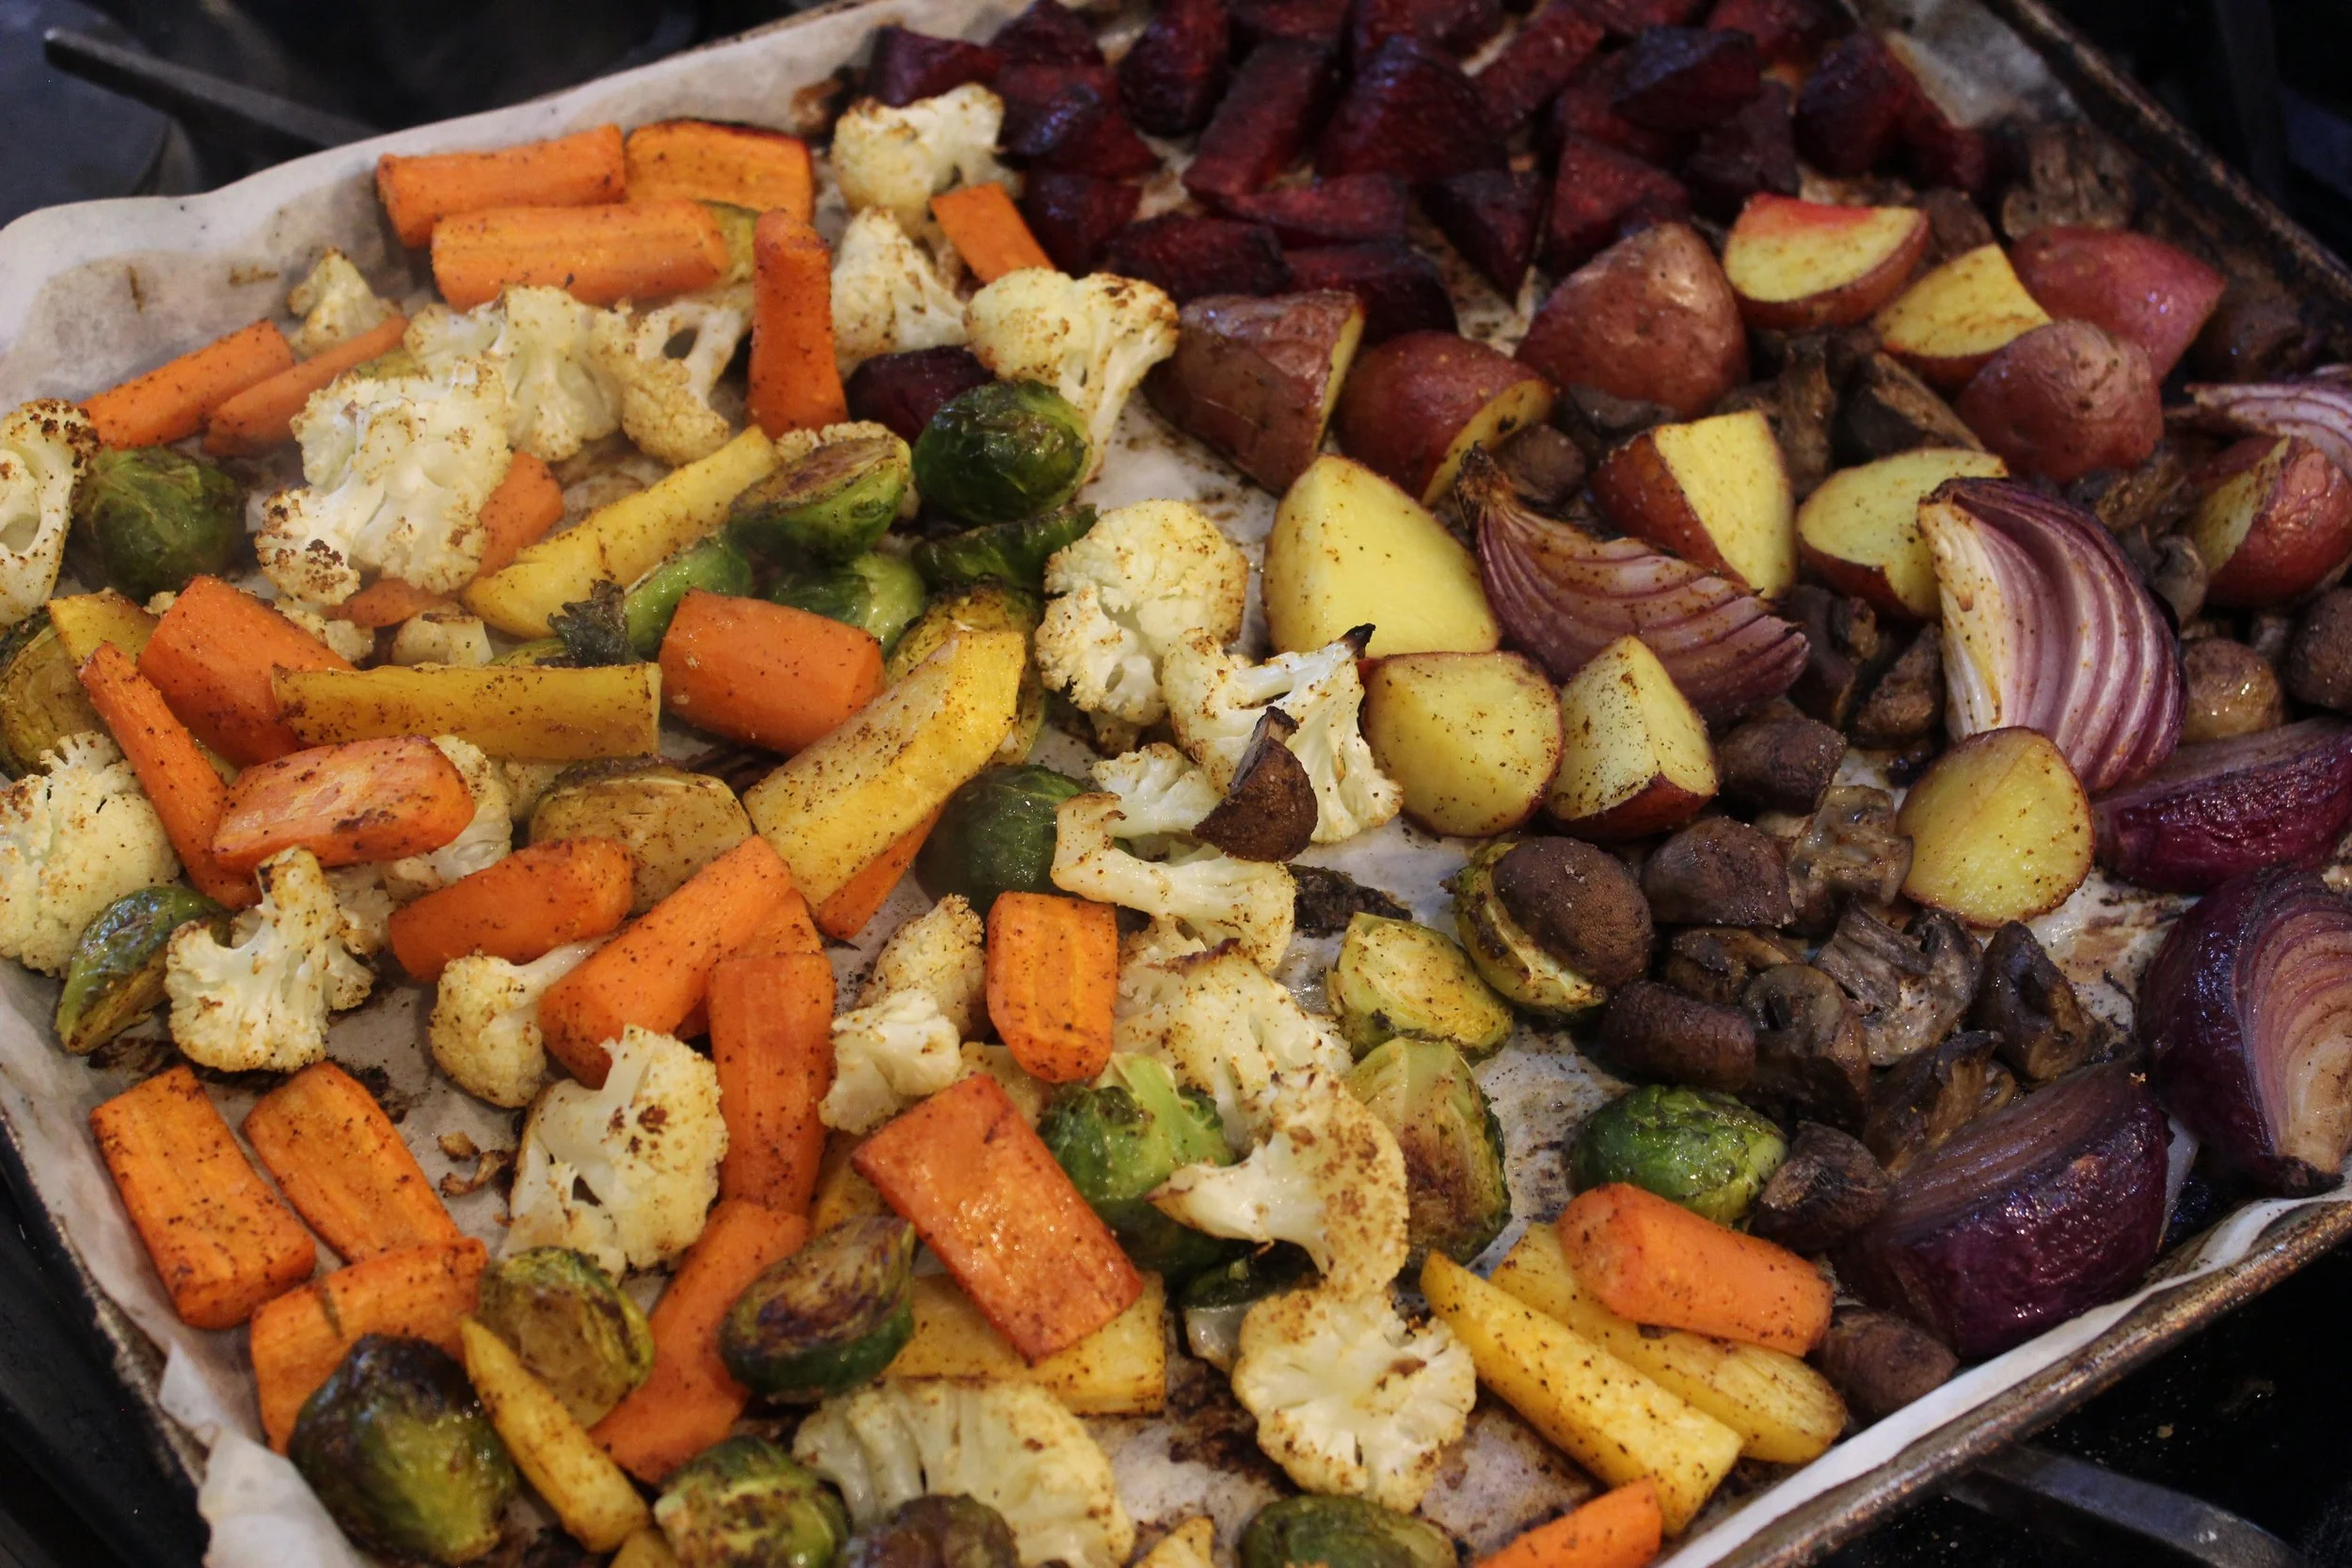
Roasting is one of the simplest ways to coax deep flavor from vegetables and proteins. The dry heat of the oven allows ingredients to caramelize and develop a rich, concentrated flavor.
If you've never roasted vegetables before you'll be surprised by how dramatically roasting changes them. Carrots become sweeter, onions soften and deepen in flavor, and broccoli develops crisp edges that taste almost nutty.
The process begins…
by cutting vegetables into relatively uniform pieces so they cook evenly. They are then tossed with a small amount of oil and seasoned with salt and pepper. Spreading them across a baking sheet in a single uncrowded layer (on a piece of parchment paper for easy cleanup) ensures the heat can circulate around each piece.
A hot oven—typically between 400°F and 425°F—encourages browning and caramelization. During roasting, the natural sugars in vegetables concentrate as moisture evaporates, which is why roasted vegetables have a deeper flavor and sometimes a slightly crisp exterior. They often taste sweeter and more complex than their steamed or boiled counterparts. This is also why they need their space-crowding results in steaming rather than roasting.
Once the vegetables are tender and lightly browned, finishing touches such as fresh herbs, a drizzle of olive oil, or a squeeze of lemon can add brightness and balance.
Roasting works beautifully for root vegetables like potatoes, carrots, and parsnips, as well as vegetables like cauliflower, Brussels sprouts, squash, and mushrooms. It also works well for whole chickens, chicken pieces, and fish.
Roasting proteins works in a similar way. Chicken, fish, and cuts of meat benefit from the steady heat of the oven. A whole chicken, (my personal favorite), develops a beautifully browned skin while the meat inside cooks gently and remains juicy.
Often, proteins are first seasoned and sometimes briefly seared in a hot pan before finishing in the oven. This combination of stovetop and oven heat helps develop flavor while ensuring even cooking.
When roasting proteins, oven temperature matters. Higher temperatures (around 425°F) help develop crisp skin on poultry or create browning on vegetables. Moderate temperatures (around 350–375°F) allow larger cuts of meat to cook more slowly and evenly.
A sheet pan or roasting pan should allow enough space for air to circulate around the food. This circulation is what helps create browning and texture.
Seasoning
Seasoning is one of the quiet skills that separates good cooks from frustrated ones. It is the process of enhancing the natural flavors of ingredients so they taste complete and balanced.
Salt is the most common seasoning used in cooking, but its purpose is not simply to make food taste salty. In small amounts, salt helps draw out and amplify the natural flavors already present in vegetables, meats, and grains.
Add salt gradually throughout the cooking process.
A small pinch added when onions begin to sauté helps them release moisture and soften more evenly. Additional seasoning later helps bring the dish into balance. Think of it as seasoning the food in layers. Every time new ingredients are added to the dish they should be lightly seasoned to keep it balanced.
Salt can also be used at the very end of cooking as a finishing element. Flaky salts such as sea salt or other flavored salts can add bursts of flavor and a pleasant texture when sprinkled lightly over finished foods. A pinch of finishing salt on roasted vegetables, grilled meat, or even a salad adds bursts of flavor and subtle texture that elevate a dish.
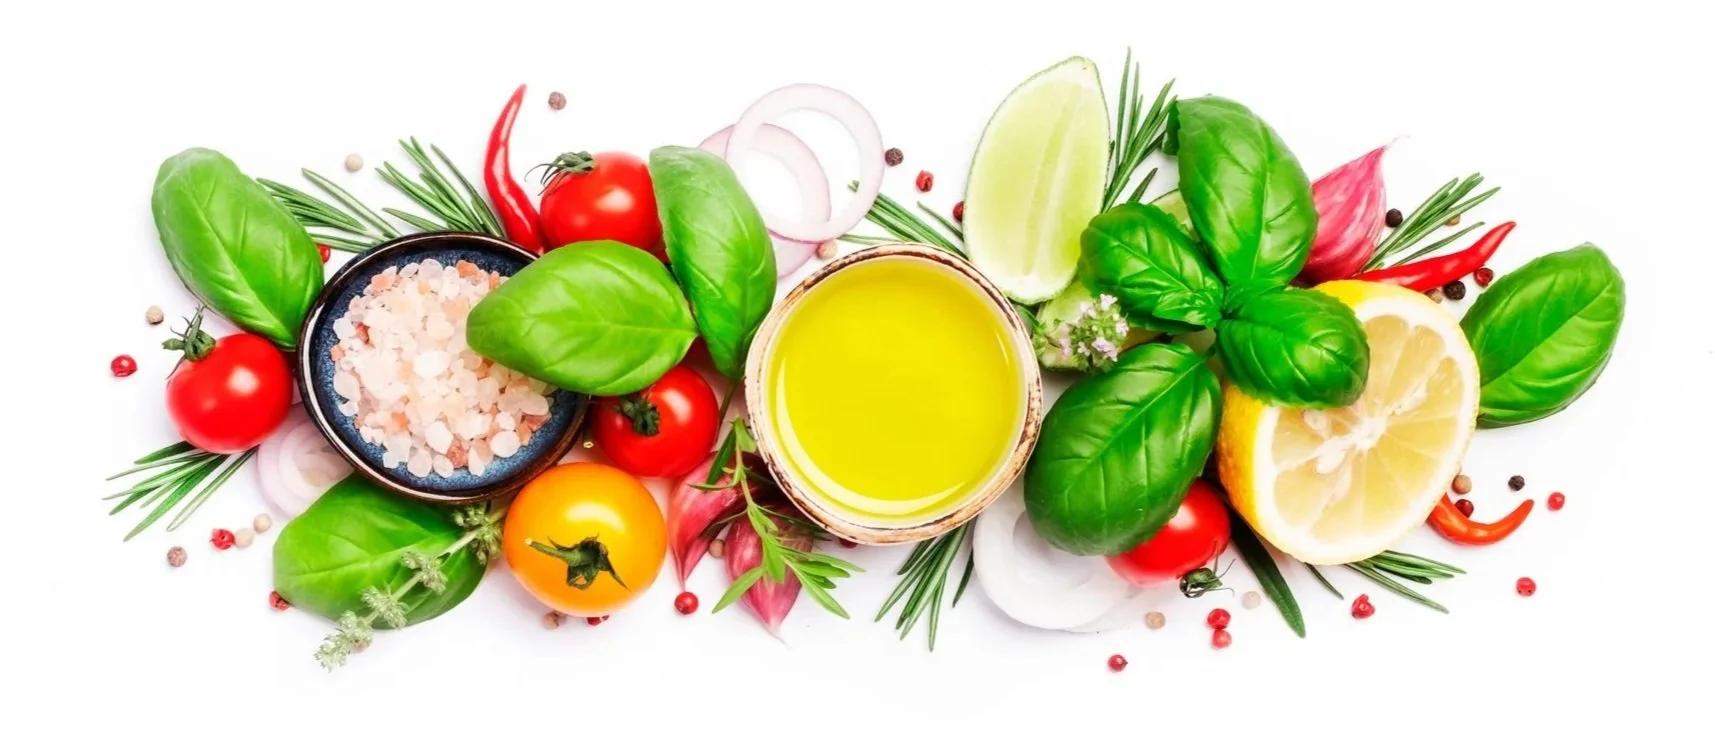
Acidity is another important element of seasoning. Ingredients such as lemon juice, vinegar, yogurt, tomatoes, or pickled vegetables can brighten flavors and prevent dishes from tasting heavy. When cooks describe a dish as “heavy,” they are usually referring to food that feels rich, dense, or somewhat flat on the palate. Cream sauces, braised meats, roasted vegetables, and dishes containing butter or oil can sometimes feel this way. Adding a small amount of acid cuts through that richness and lifts the flavors, making the dish feel more balanced and lively. A soup that seems flat may suddenly come alive with a squeeze of lemon or a splash of vinegar.
Fresh herbs also contribute brightness and aroma. While dried herbs often cook with the dish, fresh herbs such as parsley, basil, dill, or chives are frequently added at the end to refresh the flavors.
Learning to balance salt, acidity, and herbs is one of the quiet skills that gradually transforms a cook’s confidence.
Understanding Heat
Heat is the invisible force behind all cooking, and learning to manage it well allows cooks to control both flavor and texture.
Different levels of heat serve different purposes.
High heat encourages browning and searing.
Medium heat works for most sautéing and everyday cooking.
Low heat allows delicate foods to cook gently without burning.
Many dishes use multiple levels of heat during preparation. For example, a chicken dish might begin with high heat to brown the surface of the meat in a pan. Once the chicken develops color, the heat may be reduced to medium so it can finish cooking without burning. If a sauce is added, the dish might simmer gently over low heat while the flavors come together.
Soups often follow a similar pattern. Aromatic vegetables like onions and carrots may be sautéed over medium heat first to develop flavor. Once liquid is added, the heat is lowered so the soup can simmer gently rather than boil.

Oven heat also plays an important role.
High oven heat (around 425°F) promotes browning and caramelization. This temperature works well for roasting vegetables or crisping poultry skin.
Moderate oven heat (around 350–375°F) allows foods like casseroles, baked fish, or larger cuts of meat to cook evenly without drying out.
Lower oven temperatures are sometimes used for slow roasting, where meats cook gradually over a longer period, resulting in tender textures.
With experience, you’ll begin to recognize how ingredients respond to heat—how oil shimmers in a hot pan, how vegetables sizzle gently when they hit the pan, or how a pot of soup should move at a slow simmer rather than a vigorous boil.
Building Flavor
Great cooking rarely relies on a single ingredient. Instead, flavor develops gradually as ingredients are layered throughout the cooking process.
Many dishes begin with aromatics such as onions, garlic, carrots, celery, or shallots. When these ingredients cook in a little oil or butter, they soften and release their natural sweetness. This creates the foundation upon which the rest of the dish is built.
Once the aromatics have developed flavor, additional ingredients are added in stages. Proteins may be browned to create savory depth. Vegetables contribute sweetness, earthiness, or freshness. Herbs and spices introduce complexity and aroma.
Liquids such as broth, wine, or tomatoes often follow, carrying those flavors throughout the dish. As the liquid simmers, the ingredients begin to meld together.
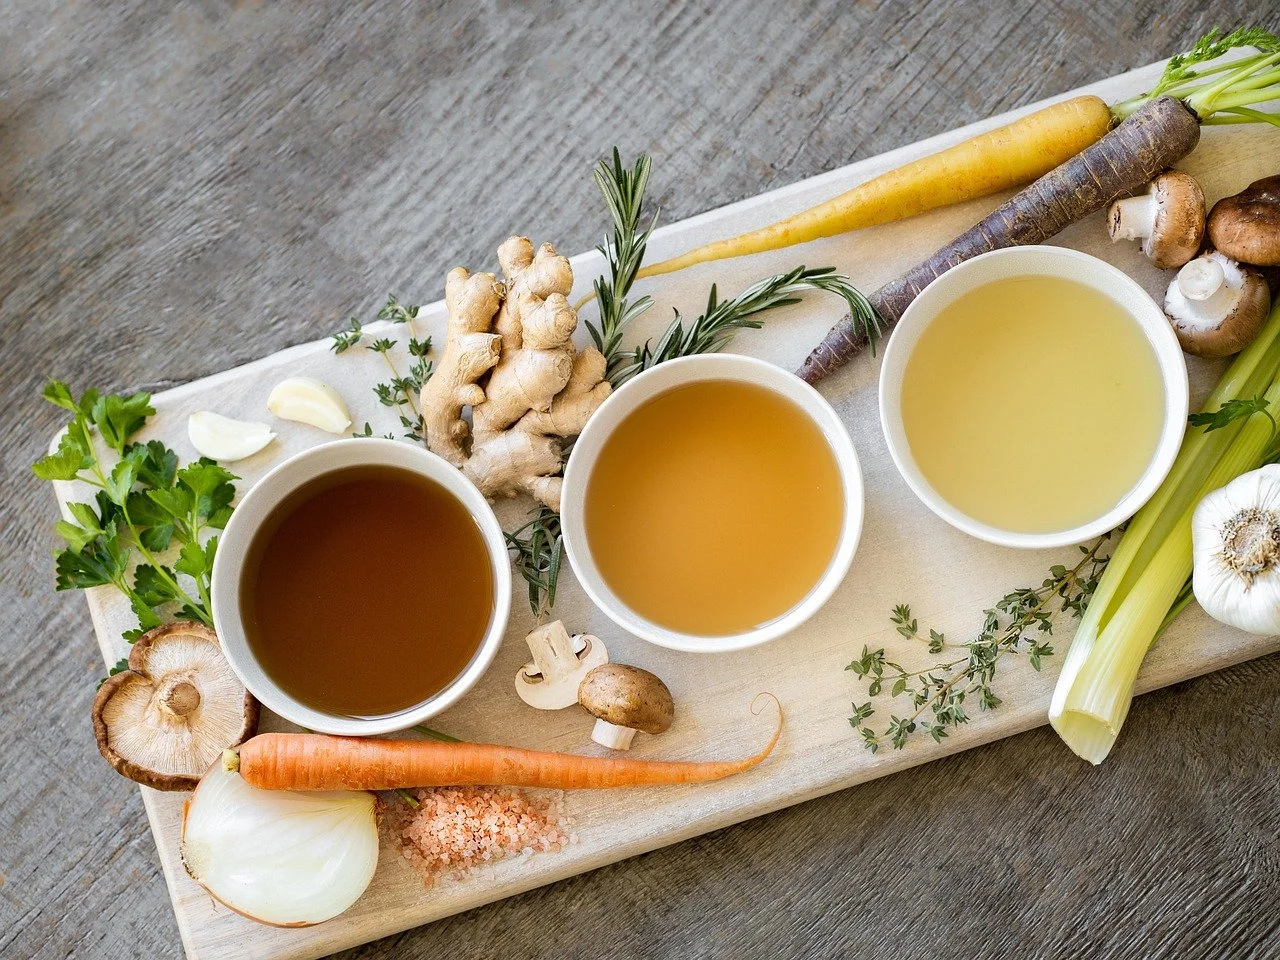
Broth, Stock, and Bone Broth
You may have noticed that recipes often call for broth or stock, and sometimes people talk about bone broth as well. While these terms are often used interchangeably, there are some differences.
Broth is typically made by simmering meat with vegetables and herbs. It tends to be lighter and ready more quickly.
Stock is usually made from bones and is simmered longer to extract flavor and body. The result is often richer and slightly thicker.
Bone broth, a term that has become popular in recent years, generally refers to a stock that has been simmered for an extended period of time allowing the nutrients stored in the bones to be released into the stock.
In the home kitchen, the important thing is simply using a flavorful liquid in your dishes.
Finally, finishing touches bring balance and brightness. Fresh herbs, citrus zest, a splash of vinegar, or a drizzle of good olive oil can round out the flavors and give the dish its final character.
This gradual layering of ingredients is one of the quiet secrets of good cooking. Each step builds upon the previous one, creating depth that simply cannot happen if everything is added at once.
Learning to Taste
One of the most valuable habits you can develop is tasting food throughout the cooking process. Professional cooks taste constantly—not because they are unsure, but because tasting allows them to guide the dish as it develops.
Tasting is how you learn what a dish needs. Rather than waiting until the meal is finished, check flavors as they develop and make small adjustments along the way.

When you taste a dish, try to notice a few things.
First, ask yourself whether the food tastes vibrant or flat. If flavors seem dull or muted, the dish may simply need a little more salt.
Next, consider balance. If something tastes overly rich or heavy, a touch of acidity—such as lemon juice or vinegar—may brighten the flavors.
You can also notice depth of flavor. If the dish tastes thin or one-dimensional, it may benefit from another layer of seasoning, herbs, or perhaps a bit more cooking time.
Learning to taste also means paying attention to how flavors interact. Salt enhances sweetness and balances bitterness. Acidity brightens richness. Herbs and spices add aroma and complexity.
Over time, tasting also trains your palate making it more sensitive and confident. You begin to recognize what a dish needs almost instinctively, adjusting flavors in small but meaningful ways.
Cooking Is a Skill That Grows Over Time
Like any meaningful skill, cooking develops gradually through practice.
The first time you try something new—chopping vegetables quickly, sautéing mushrooms until perfectly browned, or balancing a sauce with lemon—you may feel unsure. But each time you repeat those actions, the movements become more natural and the results more predictable.
Before long, you may find yourself standing at the stove with growing confidence, adjusting heat without thinking too much about it, seasoning a dish instinctively, or recognizing when vegetables are perfectly roasted.
Cooking in this way becomes deeply satisfying. It allows you to care for yourself and the people around you with simple ingredients and thoughtful preparation.
Imagine stepping into your kitchen and feeling capable rather than uncertain. You know how to chop vegetables efficiently. You understand how heat affects food. You taste as you cook and adjust flavors until the dish feels balanced. Moments like these are deeply satisfying. They remind us that cooking is not just about feeding ourselves—it is about learning a skill that grows richer over time.
These are not complicated skills, but they are powerful ones. With practice, they turn everyday cooking into something both enjoyable and deeply rewarding.
And once those skills become familiar, the kitchen opens up in new ways—inviting creativity, curiosity, and the quiet pleasure of making good food with your own hands.

Let’s get cooking!
So where do we begin? Like any craft, cooking is built on a handful of essential skills that make everything else easier. Simply begin with one or two, practice them as you cook, and over time you’ll find your confidence and creativity growing with every meal you prepare.
Roasted Beet and Blueberry Smoothie Bowl
Roasted Beet & Blueberry Smoothie Bowl is vibrant in both color and intention. Earthy roasted beets and deeply pigmented blueberries blend into a creamy base of Greek yogurt, fresh ginger, and a touch of maple, finished with vanilla and a whisper of chai spice or cinnamon.
Beyond its jewel-toned beauty, this bowl brings together ingredients that have been widely studied for their role in cardiovascular health. Beets are naturally rich in dietary nitrates, which the body can convert into nitric oxide — a compound involved in supporting healthy blood vessel relaxation and circulation. Blueberries owe their deep blue hue to anthocyanins, plant compounds associated with vascular function and protection of the endothelium, the delicate inner lining of blood vessels.
For added staying power, a spoonful of cooked and cooled quinoa or barley can be blended in, contributing resistant starch that helps nourish beneficial gut bacteria — an area of growing interest in the conversation around inflammation and heart health.
Creamy, grounding, and quietly supportive, this smoothie bowl is less about trends and more about steady nourishment — a simple, delicious way to honor the heart in everyday life.

Roasted Beet and Blueberry Smoothie Bowl
Ingredients
- Smoothie Base
- ⅓ cup roasted beets, cooled
- ¾ cup frozen blueberries
- ½–¾ cup plain Greek yogurt
- ½–1 tsp fresh ginger root, finely grated
- 1–2 tsp pure maple syrup, to taste
- ¼ tsp vanilla extract
- ⅛ tsp chai spice or cinnamon
- 2–4 tbsp cold water or milk of choice, as needed
- 2–3 tbsp cooked, cooled grain (quinoa, barley, farro, rice)
- Assorted Toppings (Choose a Few)
- Fresh or thawed blueberries
- Banana slices or thin pear slices
- Toasted walnuts, pecans, or pistachios
- Granola or toasted oats
- Hemp, chia, or ground flax seeds
- Coconut flakes
- Greek yogurt or coconut yogurt swirl
- Light drizzle of maple syrup
Instructions
- Add all smoothie base ingredients to a high-speed blender, starting with the lower amount of liquid. Blend until thick, smooth, and spoonable, adding liquid only as needed.
- Taste and adjust sweetness, spice, or ginger to your liking.
- Spoon into a bowl and add your favorite toppings.
Teriyaki Chicken and Veggie Bowl
Teriyaki Chicken and Veggie Bowl is a fresh, balanced meal that’s as satisfying as it is good for you. Tender chicken breast brings lean protein to the table, while fluffy brown rice offers a nutty base that pairs beautifully with crisp broccoli and sweet carrots.
Everything is tied together with a bright, ginger-coriander sauce that’s fragrant, flavorful, and just a little bit zesty. The combination of fresh vegetables, whole grains, and herbs makes this bowl feel light yet filling — perfect for a weeknight dinner or a make-ahead meal prep option.
This bowl is perfect for a weeknight dinner, meal prep, or as part of a seasonal detox. Whether you’re looking for a healthy reset, a family-friendly dinner, or a dish to keep you fueled during a busy week, this chicken bowl delivers big flavor and plenty of wholesome goodness in every bite.

Teriyaki Chicken and Veggie Bowl
Ingredients
- For the Sauce:
- ¼ cup low-sodium tamari or coconut aminos
- 4 tbsp rice vinegar
- 1½ tbsp honey or maple syrup
- 2 tsp toasted sesame oil
- 2 garlic cloves, minced
- 2 tsp fresh ginger, grated
- 1 tsp ground coriander
- ½ tsp crushed red pepper flakes (optional)
- 2 tsp arrowroot or cornstarch
- For the Bowls:
- 24 ounces boneless, skinless chicken breasts, cut into bite-sized pieces
- 2 tbsp avocado oil or olive oil, divided
- 2 cups broccoli florets
- 1 cup sliced carrots
- 1 red bell pepper, thinly sliced
- 1 cup diced onion
- 1 cup sliced zucchini
- 3 cups cooked brown rice
- Fresh cilantro and sesame seeds, for garnish
Instructions
- Make the sauce in a small bowl by whisking together tamari, rice vinegar, honey, sesame oil, garlic, ginger, coriander, red pepper flakes, and arrowroot. Set aside.
- Heat 1 tbsp oil in a large skillet or wok over medium-high heat. Add chicken and cook 5–6 minutes until browned and cooked through (internal temp 165°F/74°C). Remove chicken to a plate.
- In the same pan, add remaining 1 tbsp oil. Add broccoli, carrots, bell pepper, onion, and zucchini. Stir-fry 4–5 minutes, until just tender but still bright.
- Return chicken to pan. Pour sauce over chicken and veggies. Stir and bring to a simmer. Cook 1–2 minutes until sauce thickens and coats everything.
- Make the bowls by dividing cooked brown rice among four bowls and then topping with chicken and veggie mixture. Garnish with fresh cilantro and sesame seeds before serving.
Notes
- Substitute any vegetables for those called for in the recipe. Aim to have a total of 6 cups of fresh vegetables.
There you have it!
Cooking well doesn’t happen all at once. It grows meal by meal, skill by skill. Start where you are, practice often, and enjoy the quiet satisfaction that comes from creating good food in your own kitchen.